Claude Code supports two different scopes for MCP configuration:
.mcp.json file (Project scope)
The .mcp.json file is:
- Stored at your project’s root directory
- Designed to be checked into version control
- Shared with all team members working on the project
- Automatically created or updated by Claude Code when you add project-scoped servers
- Available to anyone working in your codebase
Step 1: Create .mcp.json file
Create a new file called .mcp.json in the root of your project. The content should look like this using Firecrawl as an example:
{
"mcpServers": {
  "firecrawl-mcp": {
    "command": "npx",
    "args": ["-y", "firecrawl-mcp"],
    "env": {
      "FIRECRAWL_API_KEY": "your-api-key-here"
    }
  }
}
}
Important: Replace your-api-key-here with your actual Firecrawl API key.
Security Note: If you add real API keys to your .mcp.json file, make sure to add it to your .gitignore to prevent committing sensitive credentials to version control.
Step 2: Verify and Test the MCP
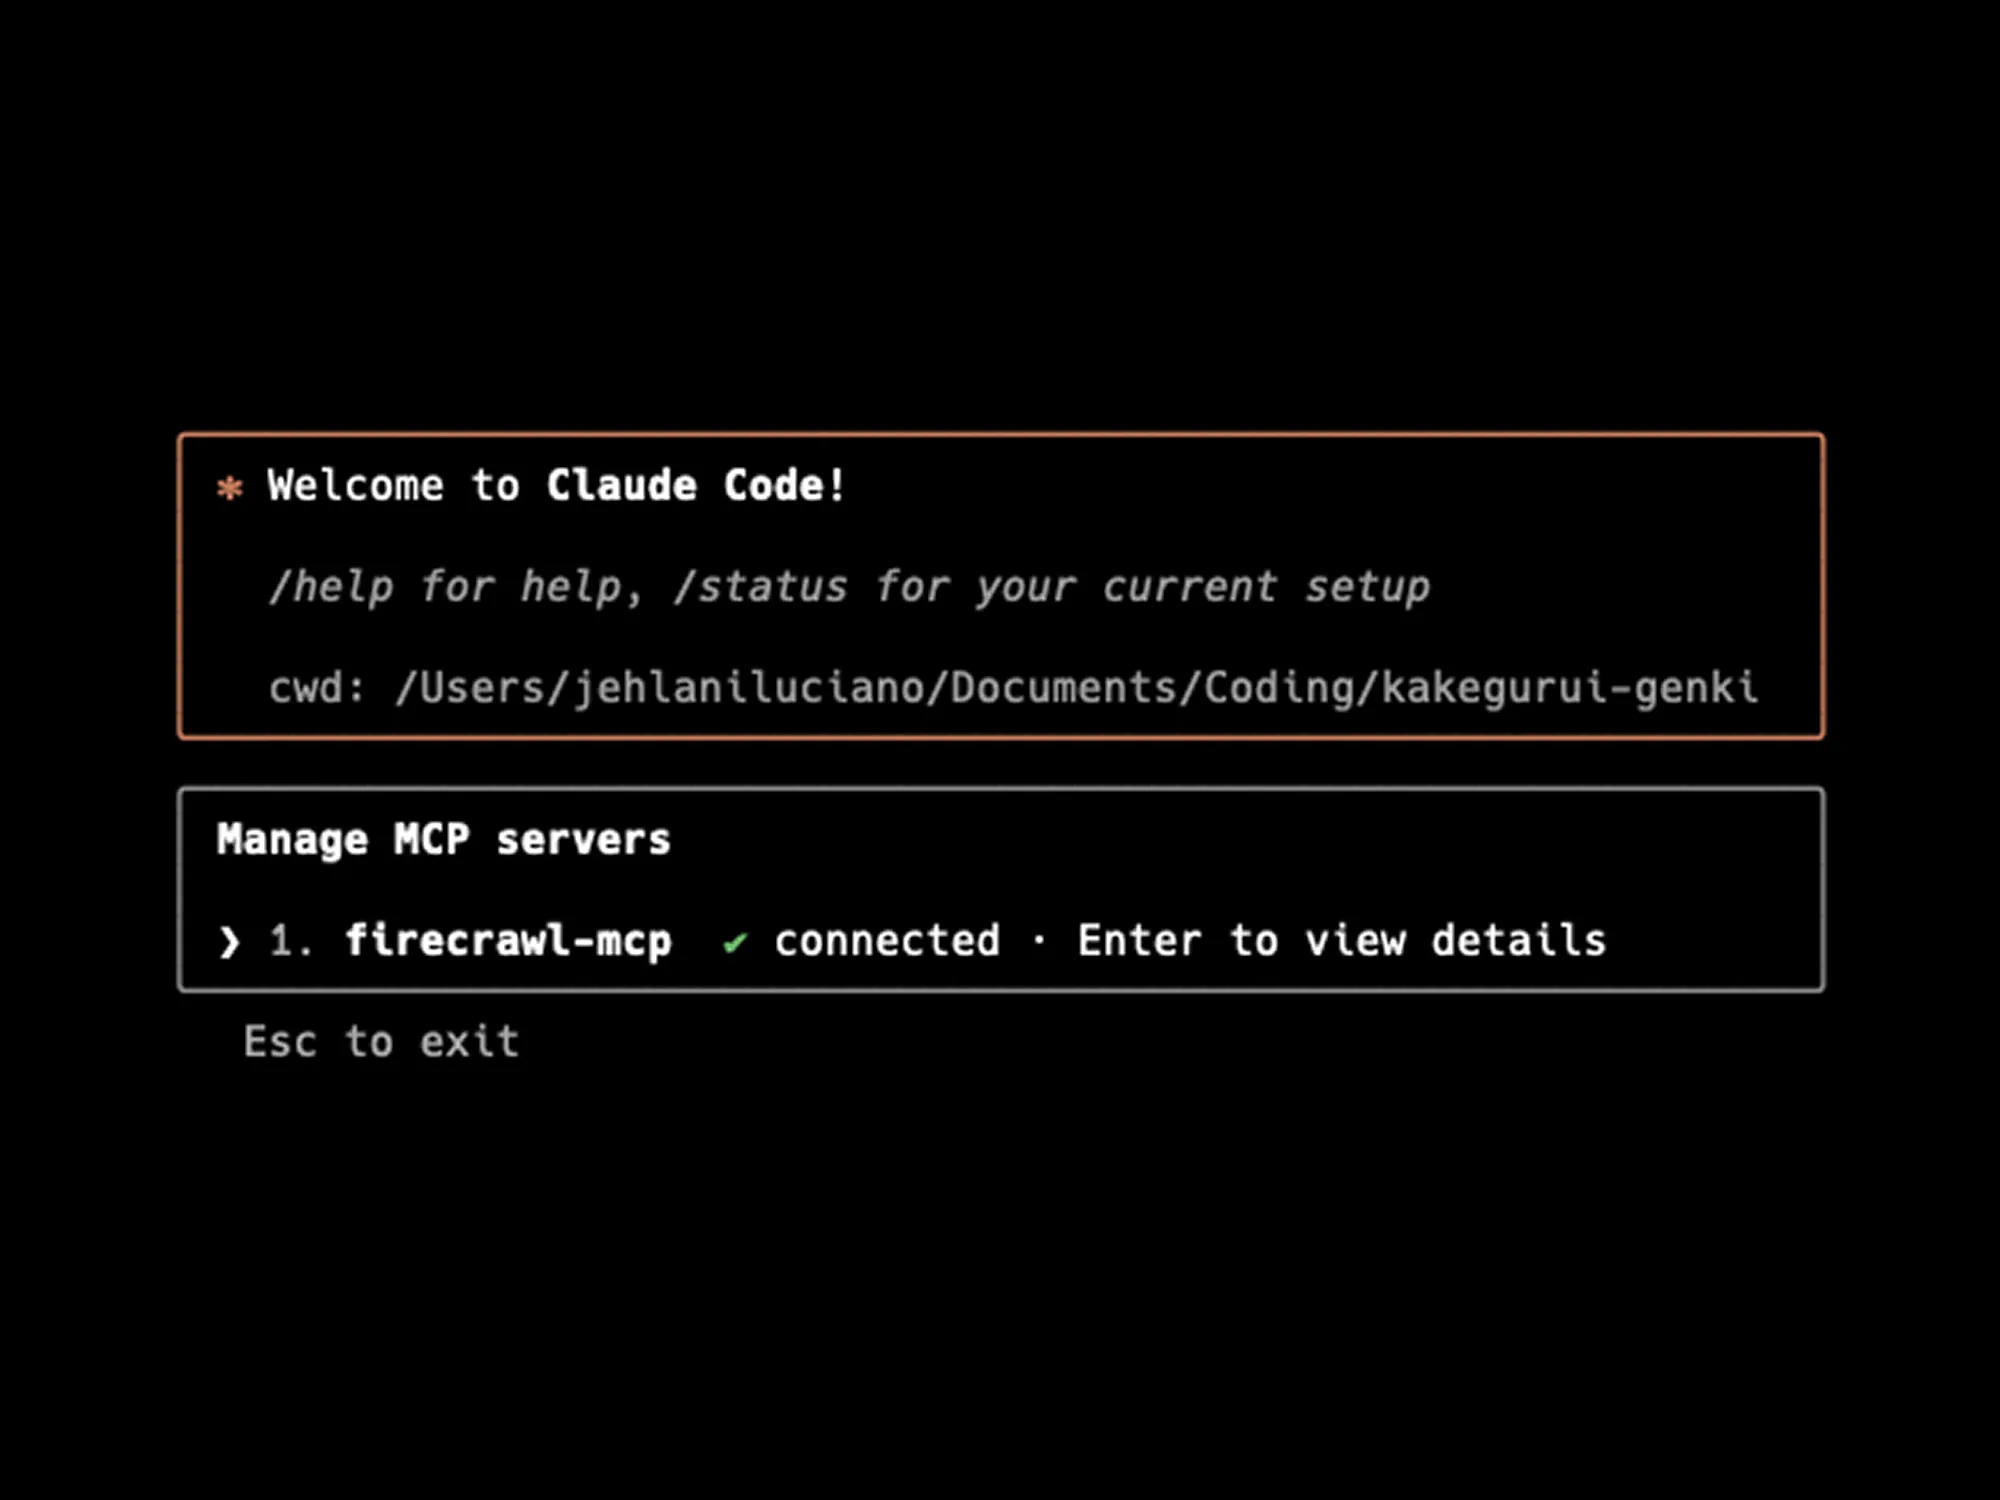
Save the file and restart Claude Code. Type /mcp to see the list of MCPs. If everything is working you should see the Firecrawl MCP in the list.

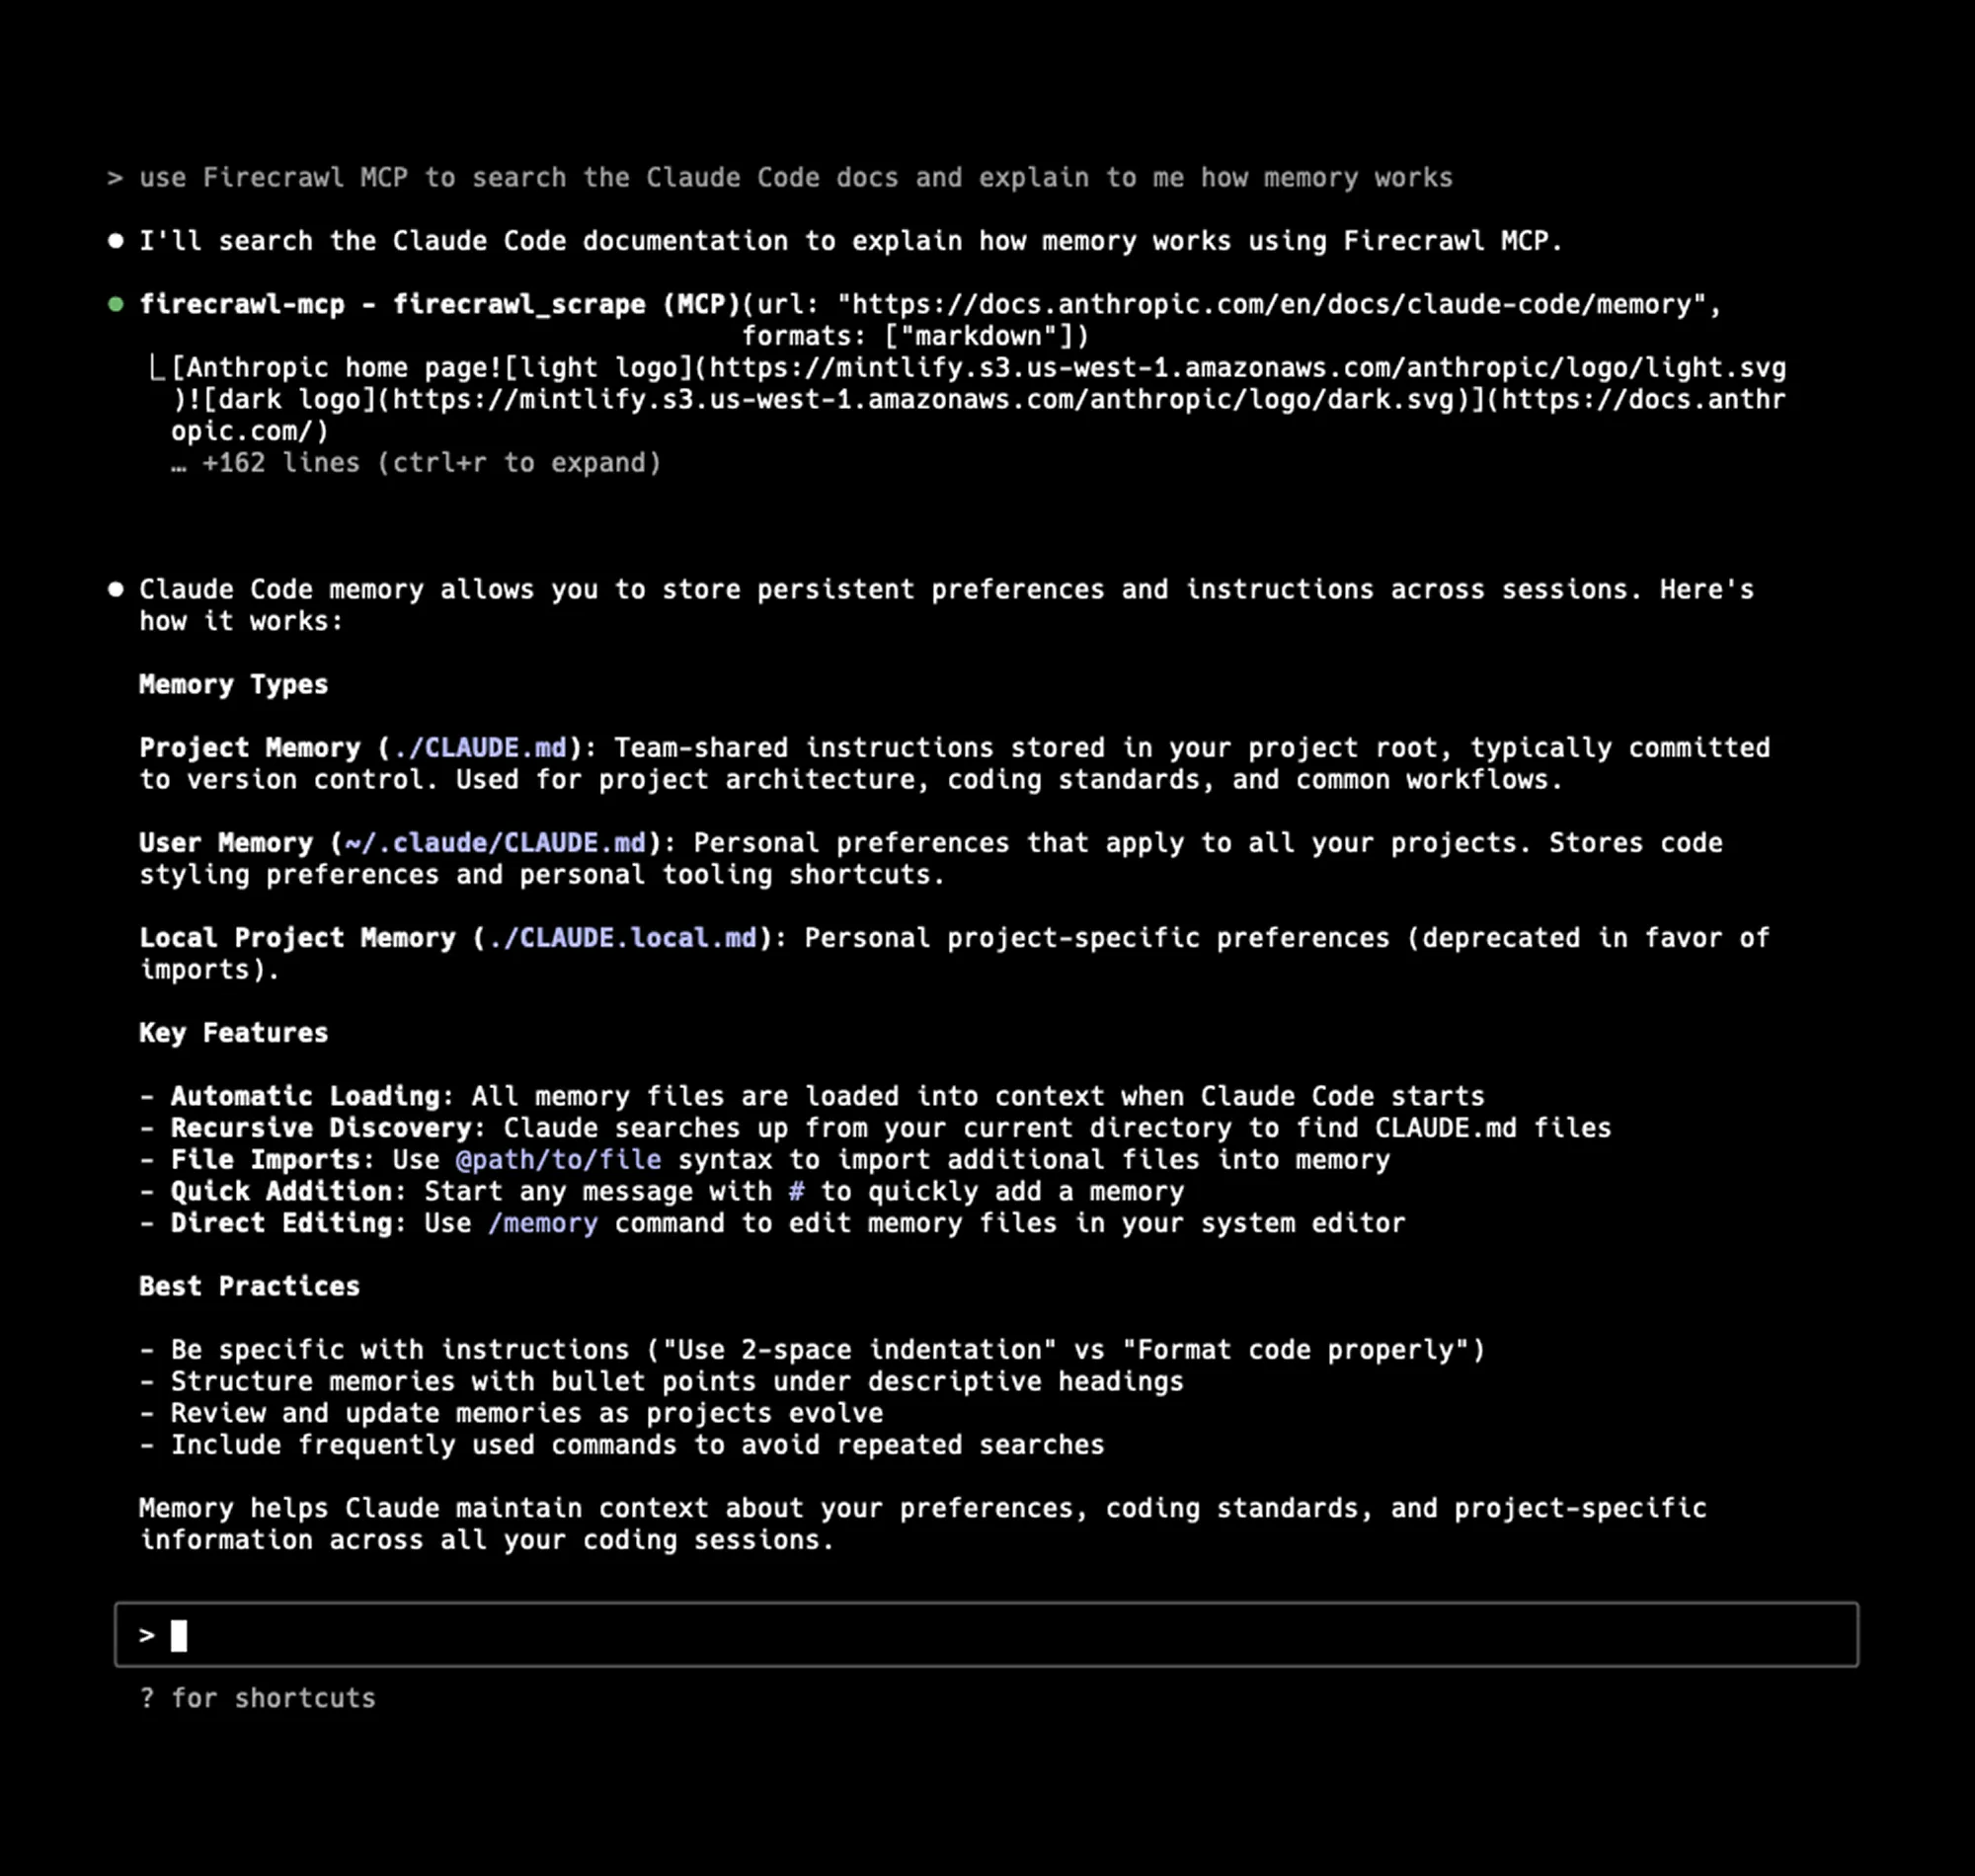
To test the MCP, type “use Firecrawl MCP to search the Claude Code docs and explain to me how memory works”

.claude.json file (User scope)
The home directory configuration is:
- Stored in your personal user settings
- Available across all projects on your machine
- Remains private to your user account
- Works well for personal utility servers, development tools, or services you frequently use across different projects
Step 1: Open Claude.json
Claude Code uses a file called .claude.json to store its configuration and should be located in your home directory.
Finding your home directory on Mac:
-
In Finder: Press
Command + Shift + Hto go directly to your home folder -
From the Go menu: In Finder, click Go in the menu bar and select Home
The file is hidden by default, so you need to show hidden files with the command Shift + Command + . in Finder.
Note: I’m using a Mac, so Windows users will need to find their user profile directory (typically C:\Users\YourUsername).
Step 2: Locate MCP Section
After opening the JSON file, look for the "mcpServers" section inside of projects. Should look like this:
    "/Users/username/Documents/yourproject": {
    "allowedTools": [],
    "history": [],
    "mcpContextUris": [],
    "mcpServers": {},
    "exampleFiles": [
      "file1.py",
      "file2.py",
    ]
  }
Step 3: Add the MCP (Firecrawl Example)
      "mcpServers": {
      "firecrawl-mcp": {
        "command": "npx",
        "args": [
          "-y",
          "firecrawl-mcp"
        ],
        "env": {
          "FIRECRAWL_API_KEY": "your-api-key-here"
        }
      }
    },
Step 4: Verify and Test the MCP
Save the file and restart Claude Code. Type /mcp to see the list of MCPs like the image from earlier. If everything is working you should see the Firecrawl MCP in the list.
To test the MCP, type “use Firecrawl MCP to search the Claude Code docs and explain to me how memory works”
Conclusion
You now have two options for adding MCPs to Claude Code:
-
Project scope: Use
.mcp.jsonin your project root for team-shared configurations -
User scope: Use
.claude.jsonin your home directory for personal configurations
Choose the appropriate scope based on whether you want to share the MCP configuration with your team or keep it personal to your development environment.
